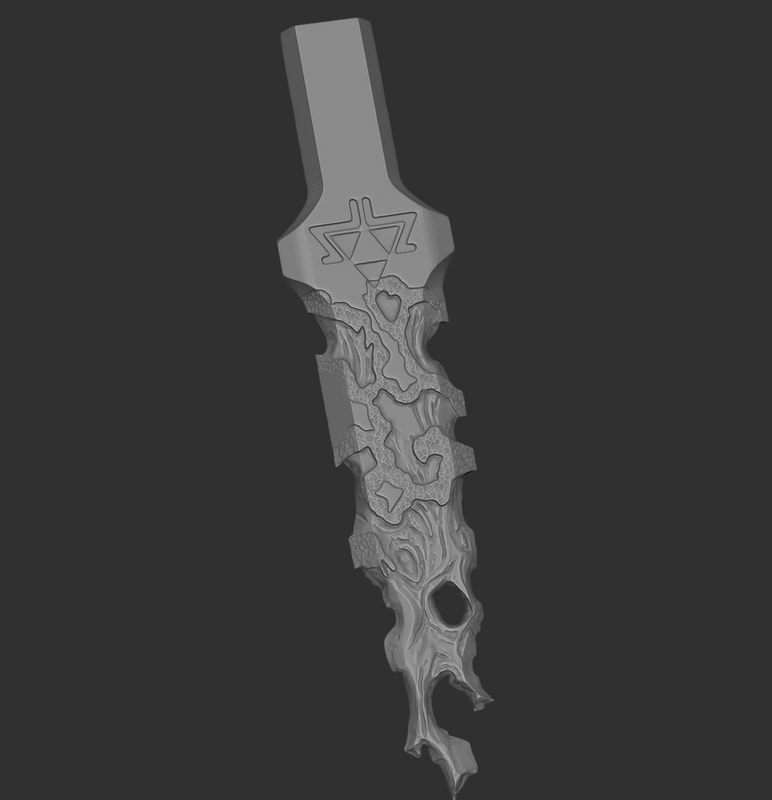
Finalized the sword design and started texturing in Substance.
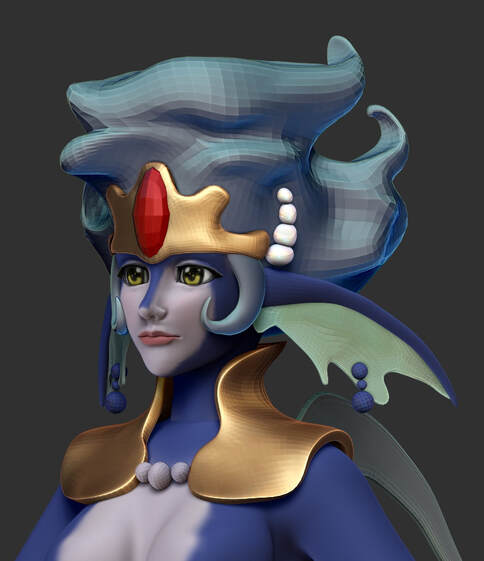
Also got pretty far on the hair cards. Still needs some polish, but GS CurveTools has made the entire process so much easier than my first attempt last year.
Also got pretty far on the hair cards. Still needs some polish, but GS CurveTools has made the entire process so much easier than my first attempt last year.


 RSS Feed